When we knew we were going to lose our old Staffie, Lyla, to cancer, we wanted to create a keepsake of her pawprint to remember her by, and made an absolute mess of making a DIY plaster of Paris, finally settling on a salt dough paw indent.
In hindsight, we shouldn’t have left creating this memento until her final day, but she went downhill quite suddenly, and the couple of years we thought we had left with her turned into a couple of days.
I certainly wasn’t going to make the same mistake with Phoebe and Frank, and so, I bought a couple of DIY kits to make some little pawprint prints that I could keep. And the best part? They were completely mess free!

I purchased two of these £5 Ink Pad kits from Flying Tiger, but there are some very similar products on Amazon, too. They’re designed to be used for newborns for little hand and footprints, but I knew it would be the perfect way to create an impression of the Scamps’ paws without getting ink all over their paws and the living room.
Inside each kit, there are two ink pads, encased in a plastic shell. Unfortunately the paper isn’t included, but we had some nice, thick paper at home already – it would have been nice for a couple of sheets to be in the packet, but we worked around it.
Getting these prints with larger breeds like Phoebe and Frank is probably a two-person job, as one person can settle the pooch and get them comfortable with holding their paw while the other prepares the print.


I removed the ink pad from the plastic shell and placed the touchless pad ink-side down on the paper. To clarify, one side of the pad is covered in ink, while the other is like a plastic film. It’s the film side you want facing upwards. With this particular kit, it tells you which is the wrong way, so it’s very handy to avoid an inky mess.
I placed both the paper and ink pad on top of a wooden chopping board to give myself a solid foundation so that the prints would look their best. You could even tape your paper to the board and the ink pad to the paper to avoid any slipping, but I just held ours.
My dad then positioned Phoebe and Frank’s paws, one at a time, onto the pad. You can only use each pad once, so we used two per dog – one to practise with to get our technique down, and one for the proper print.
We found the ink pads to be quite sensitive – you need to press firmly and confidently to avoid any wiggling around, but you don’t have to press
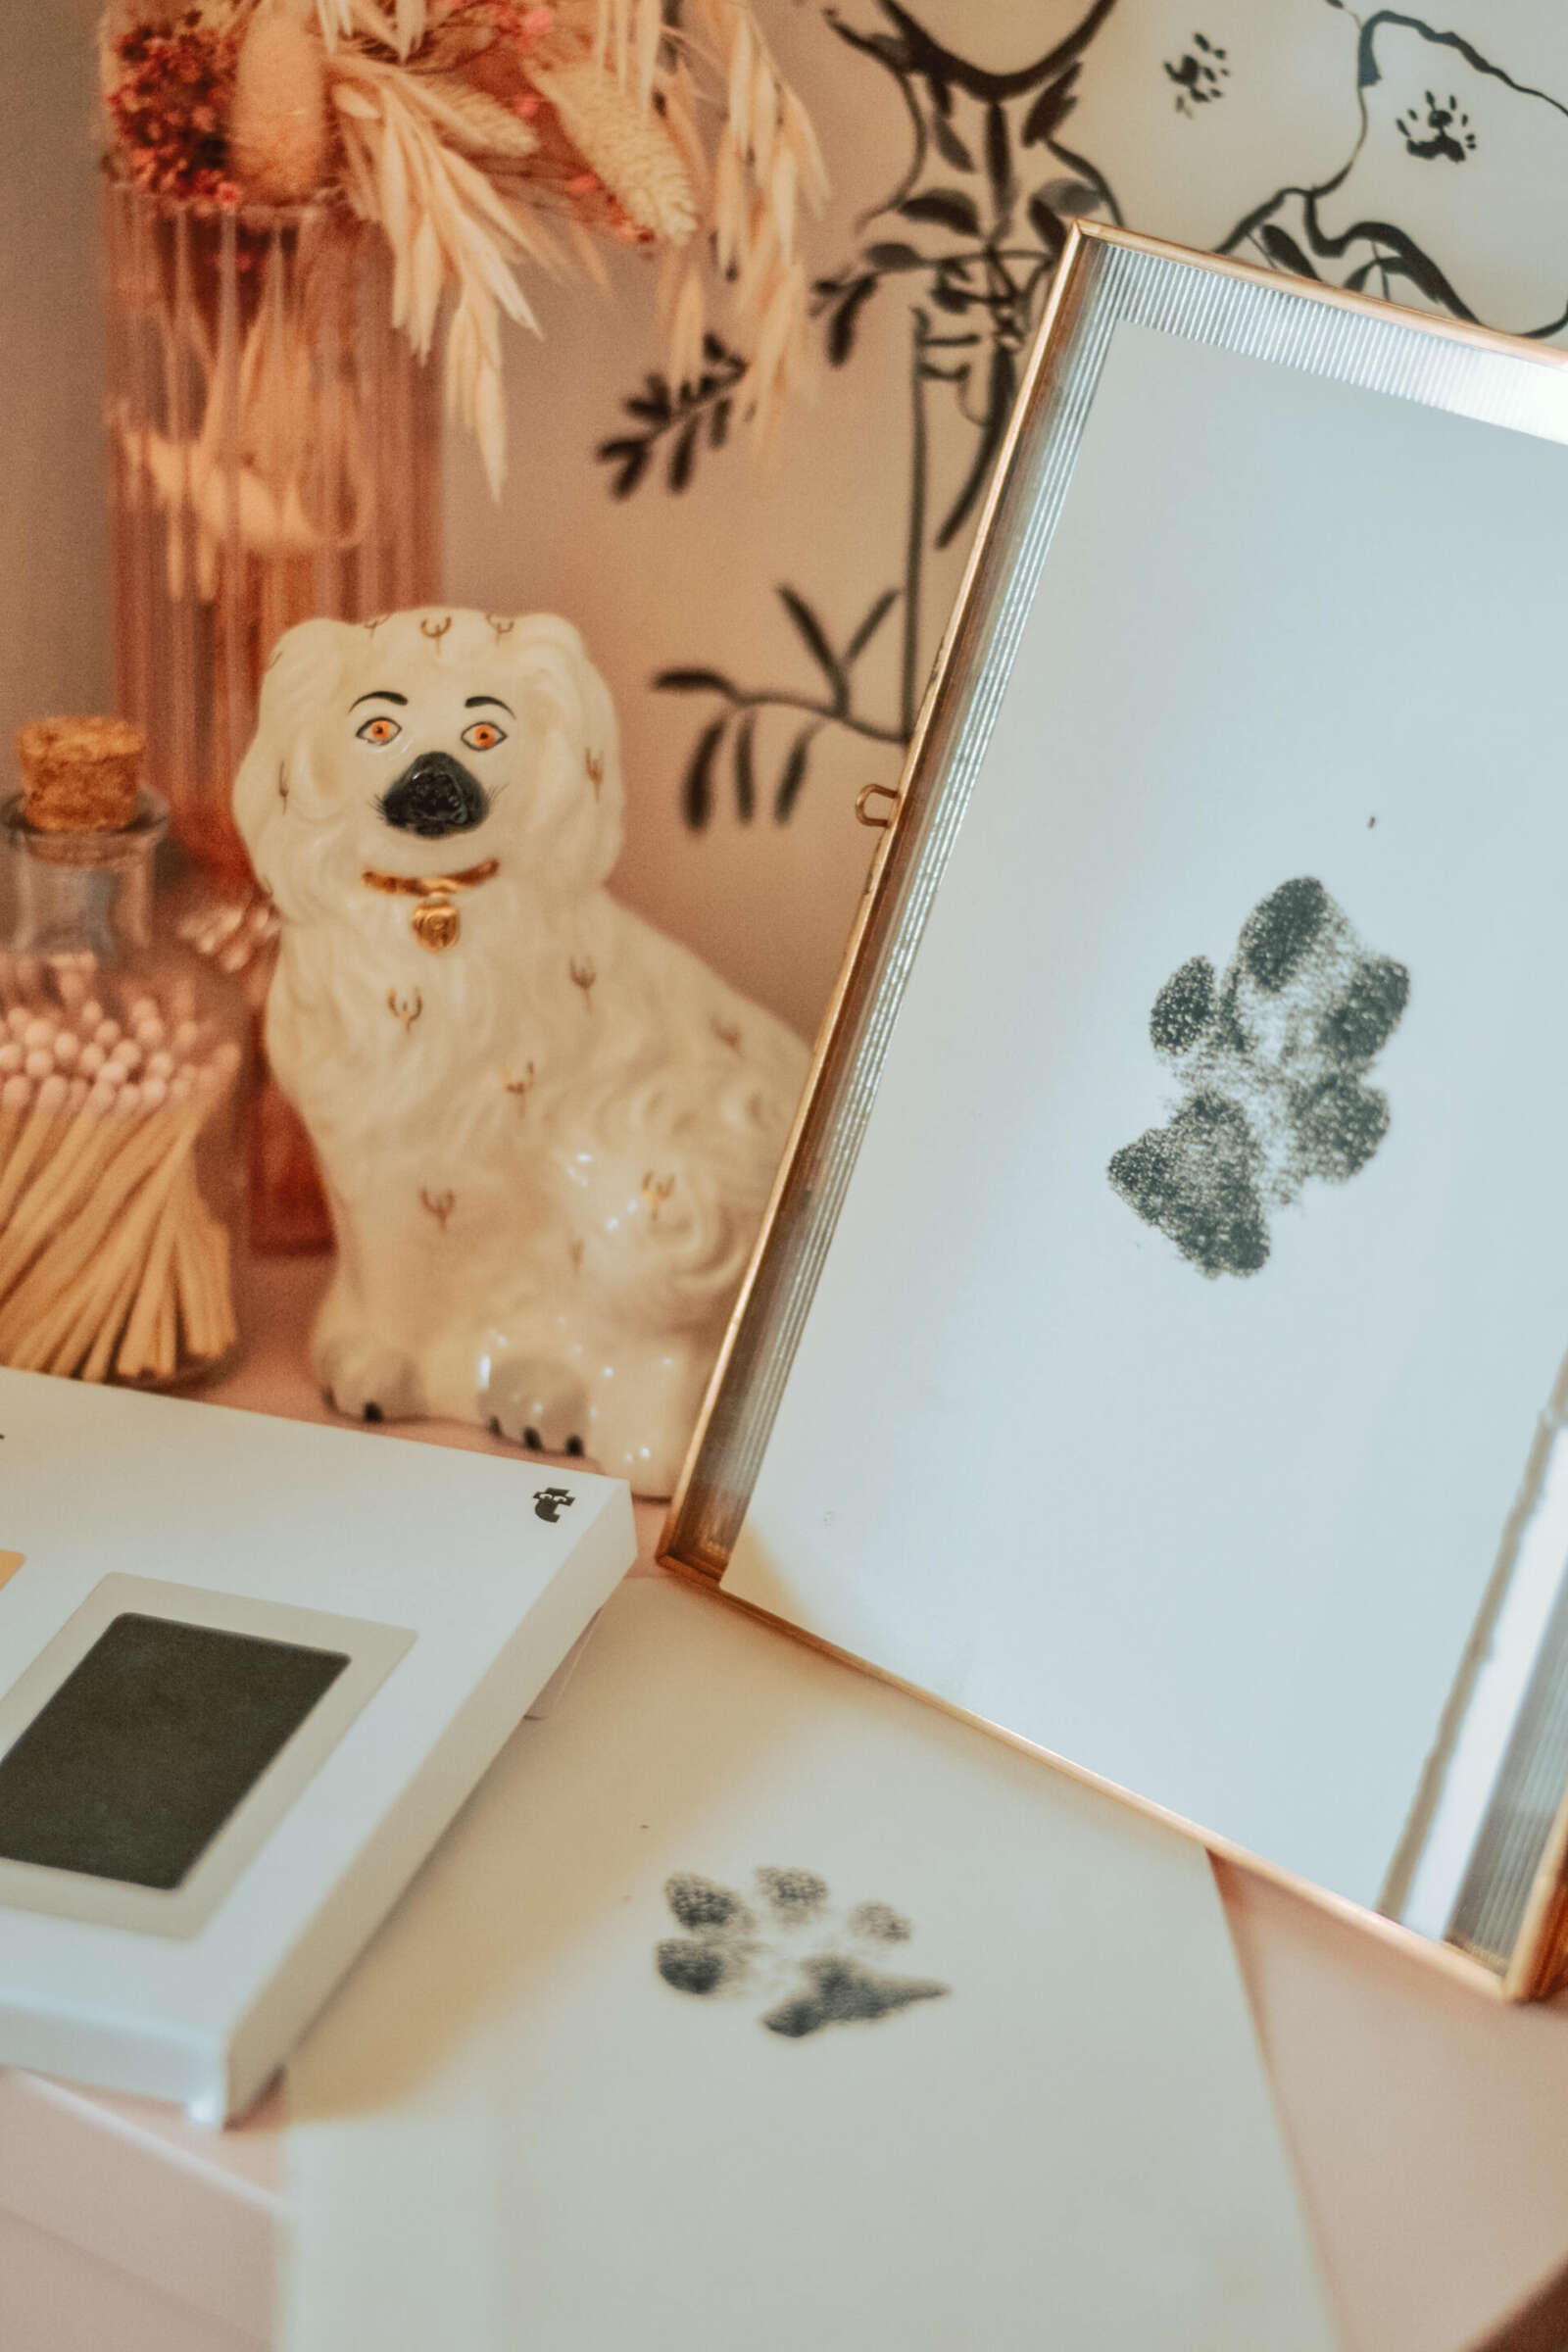
After each print, we carefully removed the pad from the paper to reveal the Scamps’ adorable pawprints. Frank’s is comically much larger than Phoebe’s dainty paws, but they came out wonderfully and they’ll look gorgeous framed.
Frank was much more obliging when it came to actually doing the prints, while Phoebe was a little more reluctant since she’s not as keen on having her paws handled. However, we were really pleased with the overall results.


The kit was completely mess free and provided us with a really sweet keepsake of both of our pooches. I’m going to frame ours and display them side by side, but other owners may have some other, creative ideas of what to do with their impressions. Some often use this method to get their pet’s pawprint so that it can be tattooed!
If you want to have a go of these DIY kits yourself, you can find the exact kit we used on Flying Tiger, or very similar products here on Amazon.
Just don’t forget, you’ll want to trim your dogs’ claws and potentially groom their toe fur for the best results! Happy printing!
